Transforming Garden Clutter into Neat Solutions
Imagine stepping out onto your patio after a long day, only to be greeted by a tangled mess of garden hose sprawled across the ground like an uncooperative snake. This common eyesore not only detracts from the serene beauty of your outdoor space but also invites practical headaches, from reduced water flow to premature wear and tear on the equipment. Fortunately, a simple do-it-yourself project can turn an overlooked item into an effective storage solution, keeping your garden tidy and your tools protected. In the world of garden maintenance, proper hose storage is essential for longevity and efficiency. Leaving hoses in heaps exposes them to kinks that restrict water pressure, leading to uneven watering and potential damage. Over time, these issues can result in leaks and the need for costly replacements. By repurposing an everyday garden item, homeowners can address these problems affordably, promoting both aesthetic appeal and functional durability in their outdoor areas.
Why Proper Hose Storage Matters for Your Garden
Garden hoses, vital for watering plants and cleaning tasks, are prone to degradation when mishandled. Key challenges include:
- Tangling and kinking: These reduce water pressure, ensuring less efficient distribution to plants or surfaces.
- Physical damage: Exposed coils can tear, causing leaks that shorten the hose’s lifespan and increase maintenance costs.
- Visual impact: A cluttered hose disrupts the harmony of patios and gardens, making spaces feel disorganized.
Storing hoses correctly not only preserves their condition but also saves money in the long run. Commercial options exist, such as decorative pots that conceal hoses, but they often come at a premium—some models priced around $80. Opting for a DIY approach allows for customization without the expense, using materials likely already on hand.
Step-by-Step Guide to Creating Your Planter Hose Holder
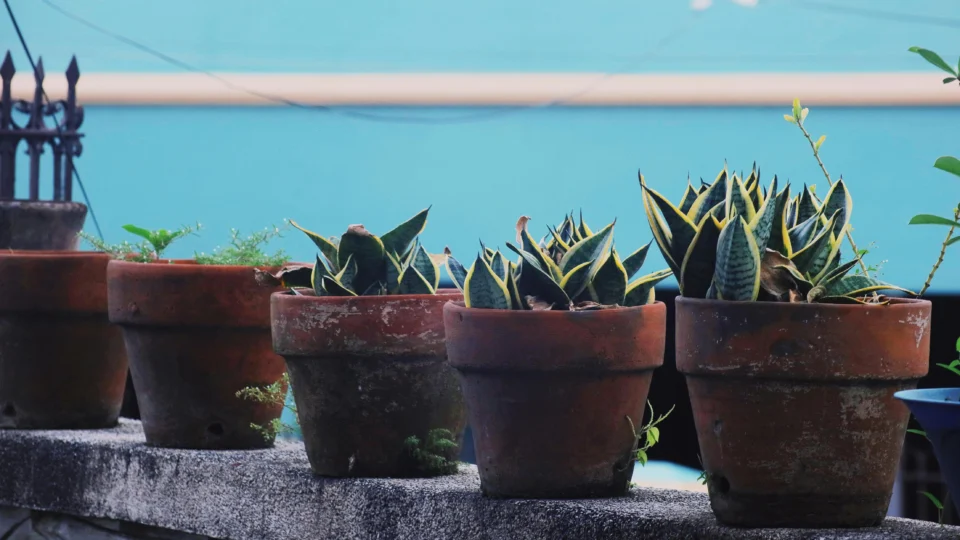
This straightforward project draws inspiration from home DIY enthusiasts who emphasize simplicity and resourcefulness. To get started, select a planter that’s at least 14 to 15 inches wide and not overly tapered at the base, ensuring ample space to coil the hose inside. Here’s how to build it:
- Measure the hose diameter: Determine the size needed for the entry hole, typically requiring a hole saw bit for precision.
- Drill the hole: Position the planter on its side and create an opening about one inch in diameter—or slightly larger—near the bottom. This accommodates the hose coupling for easy attachment to an outdoor faucet.
- Assemble and store: Place the planter near the faucet, thread the hose through the hole, connect it as usual, and coil the remaining length inside. The setup allows quick access to the sprayer without unraveling the entire hose.
For optimal results, position the planter in a shaded, sheltered area to shield the hose from sun exposure, which can cause fading and brittleness. Always drain all water from the hose before storage to prevent mold or freezing damage in colder climates. This method keeps the hose organized and out of sight, transforming an eyesore into a seamless part of your garden landscape.
"Installing this garden hose holder is as easy as 1-2-3," notes a DIY expert, highlighting the project's accessibility for beginners.
While specific historical context on hose storage innovations is limited, this repurposing technique aligns with broader trends in sustainable gardening, where upcycling reduces waste and encourages eco-friendly practices. Its societal impact lies in empowering homeowners to maintain neat, functional spaces without relying on mass-produced items, potentially lowering household expenses and environmental footprint. Would you try this planter hack to streamline your own garden routine?
Fact Check
- A messy garden hose can lead to tangling, reduced water pressure, tears, leaks, and a shortened lifespan if not stored properly.
- The DIY solution requires a planter at least 14-15 inches wide, a drill, and a hole saw bit sized to the hose diameter, typically around one inch for the entry hole.
- To assemble, thread the hose through the drilled hole near the planter’s bottom, attach to the faucet, and coil the rest inside for easy access.
- Store the hose in a shady, sheltered spot and ensure it’s fully drained of water to avoid damage.
- Commercial alternatives, like certain decorative pots, can cost nearly $80, making the DIY option more budget-friendly.